
There are units you enjoy teaching, and then there are units you really enjoy because you have a personal attachment or connection with the content. And the best part is when it comes seemingly out of nowhere— like the unit just finds you. In the midst of everything that is going wrong in 2020, I was lucky enough to try something new that has quickly become one of my favorite units I have ever taught. So I’m going to take a short hiatus from my beat on incorporating reflection into instruction because I just have to share the unit my freshmen have been working on and all that I’ve learned about writing instruction through the process. And as passion goes, I have a lot to say, so I’m going to break this up into two posts.
All great units usually come with some sort of story of how we landed there, and this one is no different. Allow me to flashback to May 2020, the month I turned 30. I know each state was (and still are) doing things a little differently. In Illinois, we were in the middle of a “Shelter in Place” order, so pretty much everything except the grocery stores were closed. I was a little bummed that I was limited on what I could do to celebrate the milestone, so my husband and I brainstormed ideas. And then he found this gem:
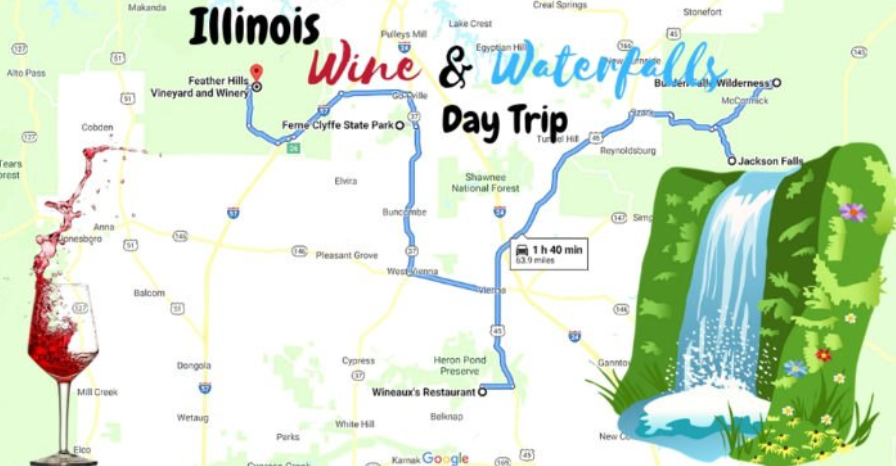
Image via Only in Your State
I had never seen an actual waterfall in real life before, and I had no idea there are a plethora of them in southern Illinois. (It’s an added bonus that said waterfalls are peppered amongst the best wineries in the state, even though most were closed at the time.) So, immediately intrigued by the idea, I visited the article that was attached to the map, which led me down the one quarantine obsession that actually makes me proud (let’s not talk about the hours I wasted watching reality dating shows).
I quickly became so hooked on the website, Only in Your State. If you haven’t been there yet, you need to go. What I love most about the website is that it features “hidden gems” in each state; attractions and fun stuff that likely wouldn’t make it onto a major travel website. And the best part? A lot of what is featured on the website is free or close to it. I didn’t realize how much there really was to do and see within a 2 hour radius of my house!
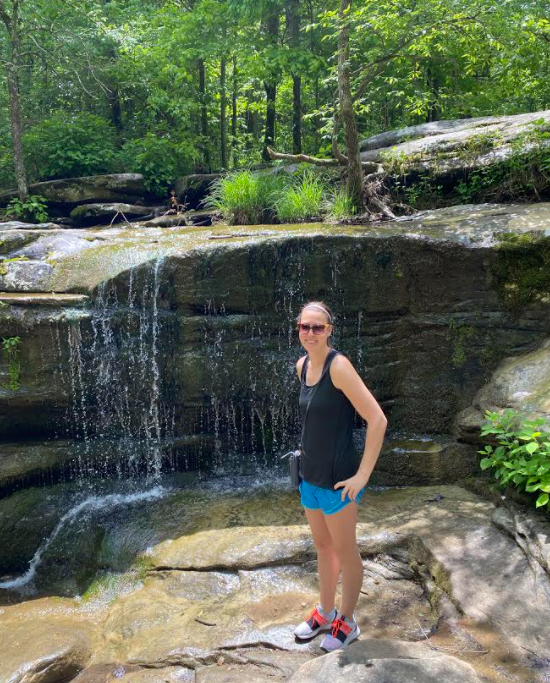
And in case you were wondering— yes! We went to see one of the waterfalls (sort of). The photo below was taken at one of the smaller sections of Burden Falls. Unfortunately, I ended up falling about 30 minutes after that photo was taken, so I didn’t make it to the big waterfall. Nothing says “Welcome to Your Thirties” like a leg injury that ends in a trip to the ER. Nevertheless, we made some unforgettable memories that day.
Leg injury aside, I was still obsessed with Only in Your State. My obsession was not limited to local articles— I liked learning about what there is to offer in all states and made a lot of mental notes for future vacations. And when I really started thinking about it, I realized this website was packed full of mentor texts for a travel article unit. The articles on the site have a clear purpose— to present information about a place in an enticing way. The authors are strategic about using enticing language with tons of adjectives and descriptions to achieve an optimistic tone. There are tons of different styles of sentences for sentence study, captions, hyperlinks, and intriguing titles. In other words, there was so much on this website that could teach my students about what real writers do.
So when it came time to plan my informative writing unit for my freshmen, it was a no-brainer. I decided we would make our own travel blog, using Only in Your State as a mentor. Ours, however, would be called “Only in Your Area,” and feature articles about attractions solely within the town of Salem and its surrounding areas. This unit actually couldn’t have come at a better time, as quarantine had pigeonholed my students into embracing what was available to them locally for the last several months. Plus, I took it as a great opportunity for my students to learn from other students about local gems and attractions during a time when there aren’t a lot of options.
With that said, today I want to share how I introduced the unit and got my students through their first drafts. In my next post, I’ll talk about the revision and publication process (which was a whole new world for me).
- Mentor Texts. I hand-picked two articles to start with. I love looking at all the articles on Only in Your State, but I’ve come to find that some are better than others in terms of writing quality. I’ve noticed that some of the articles sort of allow the pictures to speak for themselves, and there is little text. So I chose this article about a haunted hotel in Massachusetts and this one about a fall foliage road trip in Pennsylvania because they elaborated more about the topics than some of the others on the site. It was an added bonus that they centered around fall topics, and I introduced the unit during the last week of October. I also gave students the link to Only in Your State and allowed them to peruse the site during class for part of a class period. This really helped spark interest and excitement in the unit, as all of my students found something engaging on the site to explore.
- Noticings. I’m used to teaching primarily seniors, so this is the first time I’ve really had a group of freshmen read like writers. Holy moly— they killed it! It’s amazing to me how they actually did better at pointing out things they noticed about the language and structure of a mentor text than my honors-level seniors. I suspect the reason for this is that honors students are always aiming to impress and look at most assignments as difficult challenges. But when we ask students to read like writers— we’re really just asking them to go back to the basics; to rediscover the childlike curiosity they had when they first became exposed to text. My seniors will discuss complexities in the languages and struggle to discover much else. Not my freshmen! We discussed the mentor texts the entire hour, and I loved that they noticed the simple things such as including an address and phone number at the end of the article. This made my work so much easier when it came time for drafting!
- Topic Brainstorm. Once students understood the characteristics of the travel article genre, I wanted them to envision what types of articles in this style could be written about places and events right here at home. To do this, I gave students a list of 6 “subgenres” of travel articles: Nature, Restaurants/Dining, Historical Attractions, Shopping, Events, and Entertainment. (In hindsight, I wish I would have had my students come up with the “subgenre” categories— making a mental note for next year!) Anyway, I divided the students into 6 groups on our full remote day and put each group into a breakout room. Each group was responsible for coming up with a list of places or events in the immediate area that would work as topics for their assigned category. They came up with so many ideas. This exercise was especially helpful since I live in another town about 30 minutes from Salem and didn’t know about all the “hidden gems” it has to offer. It was enlightening to learn more about the town in which I teach from locals!
- Mentor Titles. Next, I wanted each student to lock in a topic for the unit. I love the idea of using mentor titles to help students select a topic and argument that Allison and Rebekah introduce in Beyond Literary Analysis, and I thought that exercise would work well for this unit. My students and I spent some time talking about the way the authors approach titling their pieces on Only in Your State. The students noticed the site tends to use long titles, and we discussed the fact that this is probably to make the articles more “clickworthy” when they are advertised on social media and on other sites. I had students tell me some of the most “clickworthy” titles they noticed on Only in Your State, and we made a list. What a great way to get students to come up with stellar titles for their own pieces! I had made a mental note that I might need to do a mini lesson on titles after they submitted theirs, but this was not necessary at all. Their titles were so strong thanks to the mentors!
On a side note, it’s worth mentioning that I didn’t allow more than one student per class period to have the same topic. On the day their titles were approved, I had them come prepared with three potential titles. I used the Sorting Hat app to randomly choose students one by one. Topic options were limitless for the first few students selected, but some of the others resorted to their second or third choices.
- Article Planning Tool. I used the notes about text structure I took after our “noticings” discussion to create a document that broke down each section students would need to include in their own articles. I created this example using McDonald’s as a topic since none of my students had chosen this as a topic. I divided the planning tool into two sections— one where students would use bullet points to plan the information they wanted in each section of their articles. The other section was dedicated to photos, and I’m so glad I decided to have students locate their photos and collect the URLs before drafting. This made the drafting process go so much smoother.
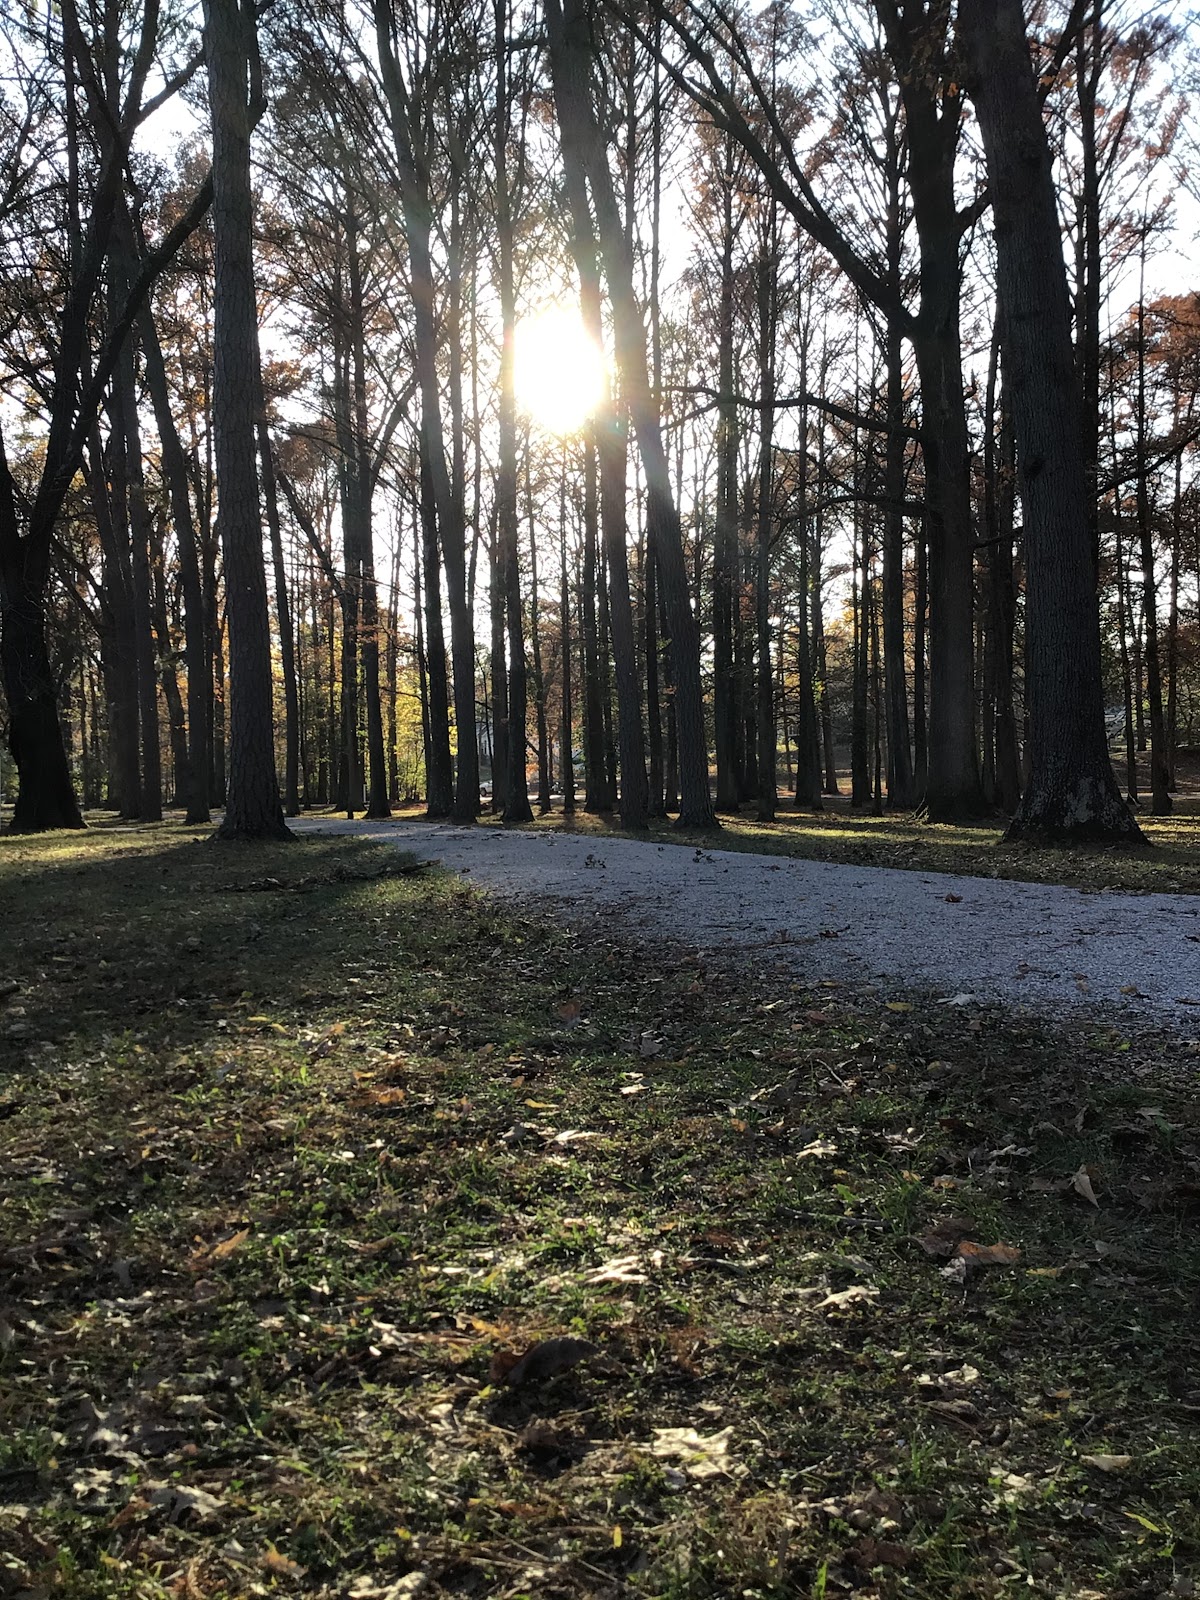
Salem is a small town, so I was worried it would be difficult to find photos for the project on the web. As it turns out, not many of my students experienced difficulty locating photos to use for their projects online. Some of my students even took their own photos, like the one below of the local nature trail.
- Drafting. Drafting took place in two waves during this unit. During the first two days, I told students to focus solely on language (no pictures yet) and getting their articles written from start to finish. Frontloading the unit with so much mentor text exploration (and also the fact that Only in Your State is packed full of even more mentor texts) and having students think about what would go into their articles with the planning tool was crucial in allowing my students to draft so quickly. I conferred with them the best I could in our hybrid learning environment during the drafting process, and most students were able to produce a draft on time. Then, we spent another three days discussing structure. Because I knew these were going to be published, I was more deliberate than ever in providing specific guidelines for formatting and making sure each student was consistent. During this time, students also added their photos to their documents and learned how to incorporate a caption with a hyperlink to the original website that published the photo.
By the end of the week, most students had a draft and were ready to engage in the revision process. To echo what I said above, I approached revision a lot differently and more deliberately than I ever had in the past due to the fact that I knew the articles would be published. And I’m so glad I decided to venture into the undiscovered territory of publication…because it has made lasting impacts on my teaching. More on this in my next article.
–Paige
What are some different ways to approach informative writing? What are the best teaching strategies for preparing students to write in an informational way? OR… have you done something— anything— this school year that has gotten you excited about teaching again? I would love to start a conversation on Twitter @TimmermanPaige!

1 Comment